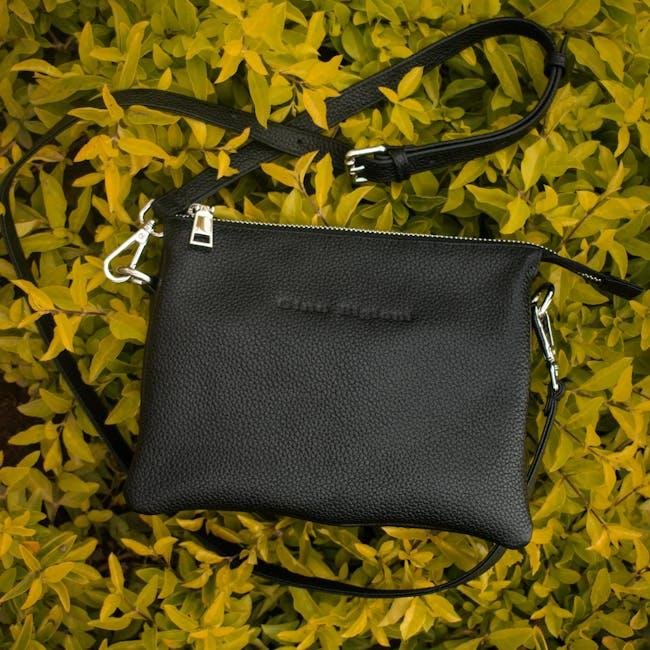
Are you ready to unlock the magic of sewing with a project that combines functionality and creativity? If you’ve ever admired the sleek lines of a zipper pouch but felt intimidated by the thought of working with zippers, fear not! in this article, we’ll guide you through the process of sewing your very own zipper pouch in under an hour. Whether you need a stylish storage solution for your cosmetics, a handy organizer for your pencils, or a perfect gift for a friend, this versatile accessory is easier to make than you might think. Grab your fabric, thread, and sewing machine, and let’s dive into a world of color and creativity, where in just a short time, you’ll transform simple materials into a chic and functional piece you can proudly say you made yourself.
Essential Tools and Materials for Your Zipper Pouch Project
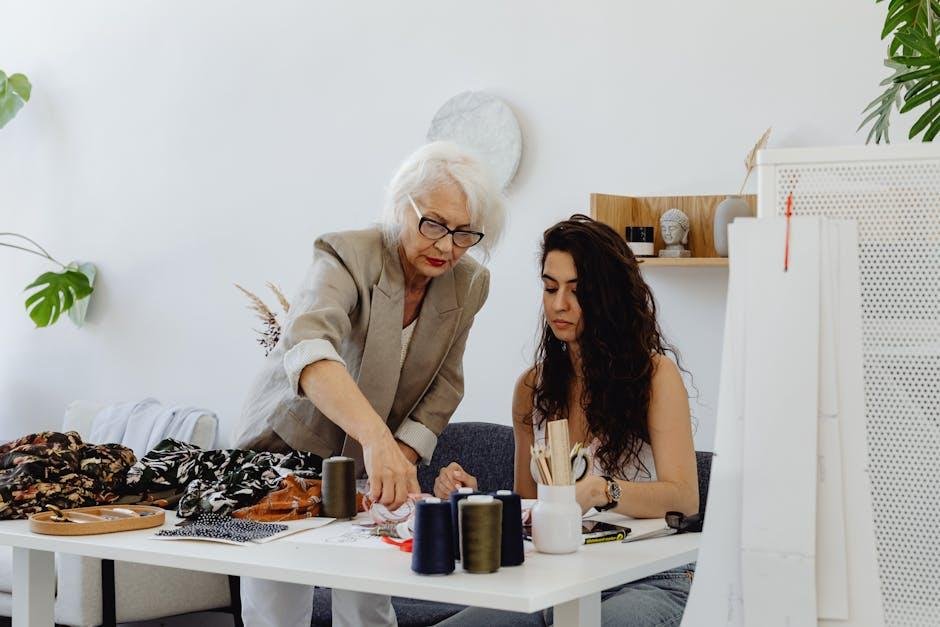
When embarking on your zipper pouch project, gathering the right tools and materials is essential to ensure a smooth sewing experience.Begin with fabric; choosing a sturdy yet flexible material is crucial—cotton blends or canvas work wonderfully. You’ll also need a zipper; opt for one that matches the width of your pouch for a seamless fit.Don’t forget fusible interfacing to add structure and durability to your pouch, along with coordinating thread that complements your fabric choice. For a polished finish, ensure you have scissors, pins, and a tape measure handy.
Additionally, a few specialized tools can make your sewing session even more efficient. A sewing machine equipped with a zipper foot is indispensable for precise stitching along the zipper edges. If you’re a fan of decorative touches, consider adding a bias tape maker for neat edges or a rotary cutter for swift and accurate fabric cutting. For organization and ease of access, a sewing kit or project bag can help keep your materials in check as you work. Below is a fast reference table for your essential tools and materials:
| Item | purpose |
|---|---|
| Fabric | Body of the pouch |
| Zipper | Closure for the pouch |
| Fusible Interfacing | Adds strength |
| Thread | Sewing fabric together |
| Sewing Machine | For stitching |

Step-By-Step Instructions for a Flawless Finish
To achieve a flawless finish while sewing your zipper pouch, start by preparing your materials carefully. Gather your fabric, zipper, scissors, and sewing machine. It’s essential to press your fabric to eliminate any wrinkles — this allows for accurate cutting and sewing. Following this, you should cut your fabric pieces precisely, ideally in a size that suits your needs, typically two fabric pieces (for the exterior and lining) and one piece for the zipper panel. Before assembling, pin the pieces together, ensuring the fabric is aligned properly to avoid any unwanted puckering during sewing.
Next, you’ll want to sew the zipper in with attention to detail. Place your zipper right sides together with the fabric and secure it in place using clips or pins. Use your sewing machine’s zipper foot to navigate closely to the zipper teeth, ensuring you get a neat finish with consistent stitching. After sewing one side,repeat the process for the other side of the zipper. Once the zipper is attached, turn the pouch right side out and give it a final press with your iron. This will set your seams and give your pouch that polished professional look. Here’s a quick reference table of essential tips:
| Tip | Description |
|---|---|
| Use the Right Foot | Zipper foot helps in sewing close to the teeth. |
| Press as You Go | Helps to achieve crisp seams. |
| Finishing Touch | Iron your final product for a polished look. |

Tips and Tricks for Choosing the Perfect zipper
Choosing the right zipper can elevate your pouch from basic to fabulous. Start by considering the length you need; most zippers come in standard sizes, so it’s essential to measure your pouch opening frist. Opt for nylon zippers for a lightweight handling or metal zippers for a more robust aesthetic. Think about the color as well; a contrasting zipper can create a striking look, while a matching one offers a seamless finish. And don’t overlook the pull tab style—there are endless options from simple to decorative that can add visual interest to your pouch.
Another crucial factor is the zipper type. You’ll generally come across closed-end and open-end zippers; closed-end is ideal for pouches while open-end zippers are better suited for jackets and larger bags. Additionally, you might want to consider zipper weight depending on your fabric choice—heavy fabrics pair well with heavy-duty zippers. for easy installation, make sure to get a zipper with the right teeth size to complement your fabric. Here’s a quick comparison to keep in mind when selecting your zipper:
| Type | Best For | Weight |
|---|---|---|
| Metal Zipper | Handbags,jackets | Heavier |
| Nylon Zipper | Pouches,lightweight bags | Lighter |
| Plastic Zipper | Casual bags | Medium |

Creative Variations to Personalize Your Pouch
When it comes to making your pouch truly yours, the possibilities are endless! Start by choosing bold fabrics that reflect your personality.Think about mixing patterns—perhaps a floral interior lining paired with a geometric exterior. Adding embellishments can also enhance the uniqueness of your pouch. You might consider stitching on custom patches, or even using fabric paint to create a personal design or monogram. Another idea is to incorporate specific themes, like adventure with travel icons or cozy vibes with warm colors and soft textures.
Furthermore, consider different closures and enhancements that can make your pouch stand out. Rather of a standard zipper, try using a button and loop closure or a magnet snap for an unexpected twist. You could also add interior pockets to better organize items inside, which can be perfect for smaller gadgets or cosmetics. For an extra touch, feel free to experiment with a detachable strap or handle, turning your pouch into a chic clutch or mini handbag. experimenting with these elements can transform a simple pouch into a personalized accessory that showcases your creativity.
In Summary
As you close the chapter on this quick and rewarding project, we hope you feel inspired and empowered to tackle your sewing endeavors with newfound confidence. Mastering the zipper pouch not only equips you with a handy accessory but also enhances your sewing skills in a delightful way. With its endless possibilities for customization, this simple design can be transformed to fit any style or occasion—whether it’s a gift, a travel companion, or a stylish organizer for your everyday essentials.
So gather your fabric, thread, and enthusiasm, and let your creativity run wild. In just under an hour, you’ve created something both practical and personal. We encourage you to experiment, mix patterns, or add embellishments that reflect your unique flair. Remember, each stitch brings you one step closer to making the ordinary extraordinary.Happy sewing!

