
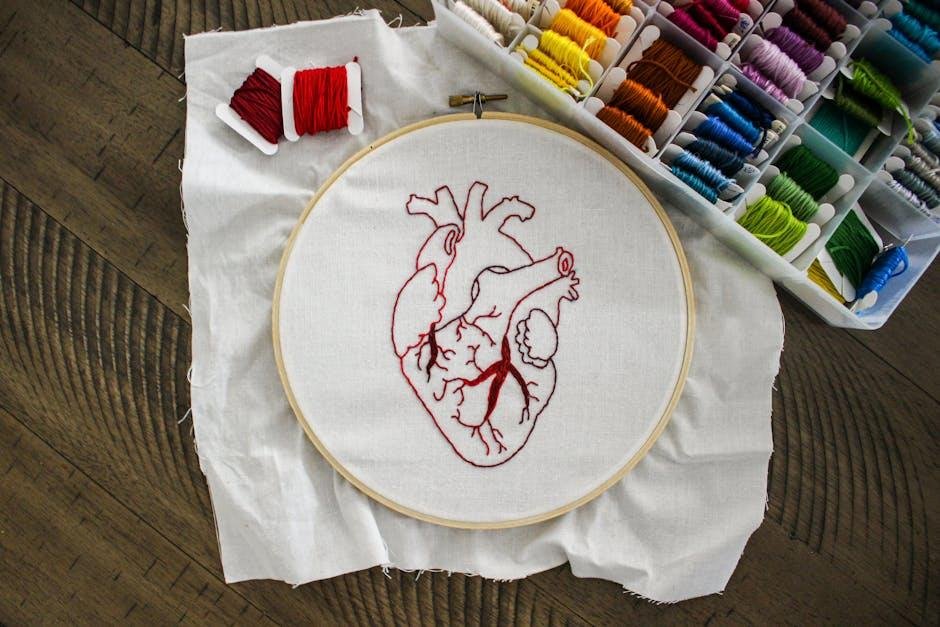
When it comes to crafting,few things spark joy quite like the vibrant hues of embroidery floss neatly arranged at your fingertips. However,as your collection blossoms and the colors multiply,the challenge of organizing this essential material can turn into a knotty problem. Fear not, fellow stitch enthusiasts! In this article, we will explore a variety of creative and functional embroidery floss storage ideas that not only keep your threads tidy but also elevate your crafting space. Whether you’re a seasoned embroiderer or just starting your journey into the world of needlework, our innovative storage solutions will inspire you to transform chaos into harmony, allowing you to focus on what truly matters: bringing your artistic visions to life, one stitch at a time. So, grab your scissors and let’s dive into a world of color-coordinated bliss!
Maximizing Space with Innovative Storage Solutions
When it comes to organizing and storing your embroidery floss, creativity knows no bounds. Utilizing clear plastic organizers or small storage boxes can make a world of difference in keeping your threads easily accessible and visible.These versatile containers come in various sizes and configurations. A few ideas to consider include:
- Color-coded Bins: Sort your floss by color in vibrant, labeled bins for an eye-catching display.
- Wall-mounted Racks: Free up surface area by installing wall-mounted peg boards or spools that keep your threads neatly in view.
- Drawer Dividers: Use adjustable dividers in your craft drawer to create customized sections for diffrent thread types.
For those who want to take it a step further, creating a dedicated embroidery floss chart can streamline your storage and inventory. Below is a simple representation of an organizational chart:
| Floss Color | Container Type | Location | No. of Skeins |
|---|---|---|---|
| red | Bin | Shelf | 12 |
| Blue | Drawer Divider | Craft drawer | 8 |
| Green | Wall Rack | Craft room wall | 15 |
Implementing these solutions not only maximizes your craft space but also adds an element of inspiration and artistry to your workspace. You’ll find that organizing your supplies can turn into a delightful part of the creative process!

Color Coding for Easy access and Organization
One of the most effective ways to streamline your embroidery floss storage is by implementing a vibrant color-coding system. By categorizing your threads based on color families, you can save time searching for the perfect shade. Consider using colored labels or tags for organizing your floss boxes or containers. For example,use red for warm tones,blue for cool tones,and green for neutrals. This visual organization not only enhances accessibility but also transforms your storage solution into an artful display.
To further enhance the functionality of your color-coded system, you might want to incorporate a numbering scheme within each color category. this can be achieved using small bins or baskets, allowing you to maintain order amidst a vibrant collection. As an example, you could have a chart like the one below for speedy reference:
| Color Family | Numbering System |
|---|---|
| Warm Tones | 1-10 |
| Cools Tones | 11-20 |
| Neutrals | 21-30 |
With this organized approach, not only can you quickly locate your products, but you’ll also inspire your creativity every time you glimpse at your beautifully arranged floss collection. A well-structured system can motivate you to embark on new embroidery projects with ease!
Creative Containers: Stylish Options for Your Embroidery Floss
If you’re looking to elevate your embroidery floss organization game, consider using stylish containers that not only keep your floss tangle-free but also double as decorative elements in your crafting space. Glass jars with cork lids can provide a charming rustic aesthetic, allowing you to display an array of colorful threads.alternatively, antique tins or vintage sewing boxes can add a touch of nostalgia while securely housing your supplies. These containers can be arranged on shelves or nestled into a dedicated crafting corner, transforming your workspace into a vibrant, artistic oasis.
For those who prefer a more modern appeal, consider stackable acrylic organizers that enable you to easily see and access your floss. These clear containers can be customized with labels to indicate color codes or project details, promoting a sense of order. Additionally, magnetic spice jars mounted on a wall can create an innovative display that keeps your floss visible and accessible while saving precious desk space.With a wide selection of options available, you can effortlessly blend style and functionality in a way that complements your personal aesthetic.
DIY Storage Hacks to Personalize Your Craft Space
Create a charming embroidery floss storage solution by repurposing glass jars or containers. Not only do they offer a transparent view of your vibrant colors, but they also add a touch of rustic elegance to your craft space. You can label each jar with cute name tags, using washi tape or chalkboard paint, making it easy to find the perfect shade for your projects. For a more playful touch, consider layering the floss by color or creating a gradient effect. This visual appeal will not only help you stay organized but will also inspire your creativity every time you enter your crafting area.
Another innovative option is using a suspension system with detachable embroidery floss holders.Use a tension rod or dowel and hang small baskets, clips, or even shower curtain rings to hold your floss. This allows for easy access and can be customized to fit any space, whether it’s a cozy corner of a room or an entire craft studio.For an organized twist, create a color-coded system using colored tags or stickers to identify floss by brand or project type. This method not only saves space but also gives your workspace a cohesive and personalized look, helping you stay focused and inspired.
Key Takeaways
As we wrap up our exploration of embroidery floss storage ideas,it’s clear that organizing your craft supplies doesn’t just enhance your workspace—it can also inspire your creativity. Whether you opt for charming vintage jars, practical pegboards, or elegant thread boxes, the right storage solutions can transform your embroidery experience. By incorporating a system that suits your personal style and needs, you can spend less time searching for that elusive shade and more time bringing your artistic visions to life. So gather your threads, choose a storage method that resonates with you, and dive into a world of colorful possibilities. Happy stitching!
